Wow look, I actually posted on time for once. I’m proud of myself for that lol. Anyway, as promised every Wednesday is a post about beauty, and these will range from makeup tips to hairstyles to reviewing products. As I said before most of them will probably be hairstyles since I can actually do them and I’m not very good at makeup tbh, but hey I guess this is a place where we can all learn together.
So today’s hairstyle of choice is a fishtail braid. Now, this style is something that I always used to love on other people but when I went to do it myself I simply just didn’t know where to start. It can be very tricky to get your head around the first time you attempt it, which is why I’ve done step by step instructions for this tutorial (along with some horrible pictures of me doing it that I took this morning) to help you along the way. Please don’t be disheartened if it doesn’t come out right the first time you attempt it, it can take a lot of practice to get right. Also sorry about my awful selfies throughout the post.
Step 1. To start off with, brush your hair through thoroughly so that there’s no tangles. This will make it easier for you once you start braiding as there won’t be anything for your hair to get stuck on, and you’ll end up with a much better finish. Some people find it easier to braid hair that’s slightly damp so if you want you can spray it with a little bit of water or you can do it after a shower if you wait until your hair is mostly dry. I don’t recommend braiding or brushing very wet hair as it can leave you with split ends and damage it.
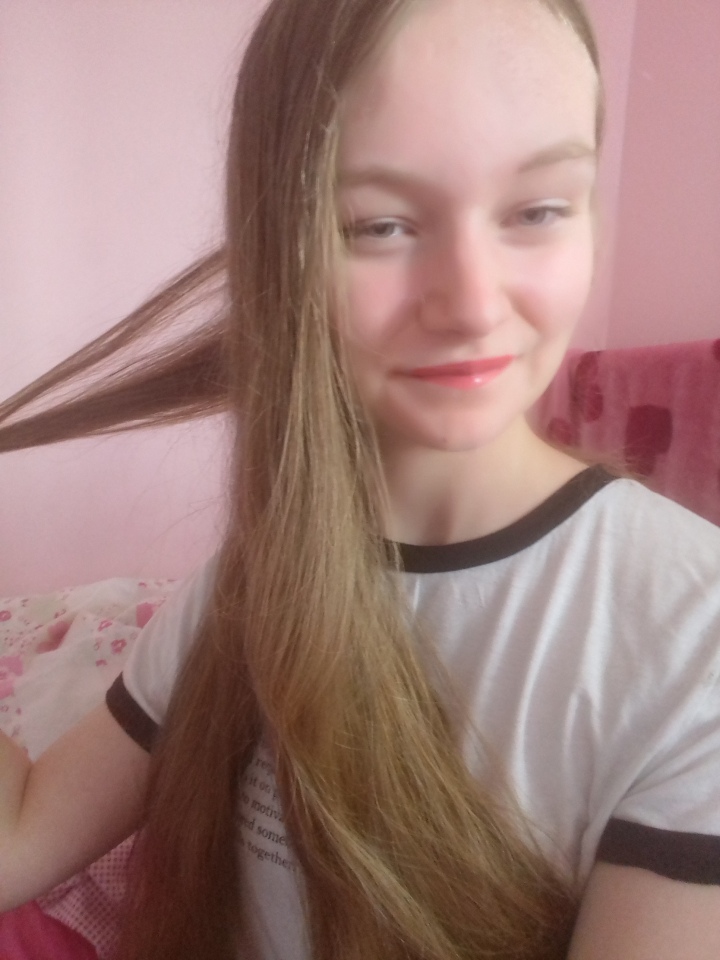
Step 2. Once you’ve brushed it through you can then move all of your hair to the side on which you want the braid to be. You can then brush it through again if you need to just to make sure all the hair is completely soft and braid-able. Below is a picture of me doing just that this morning:

(Jesus Christ look at my lipstick it’s no wonder I don’t do make up tutorials) MOVING ON
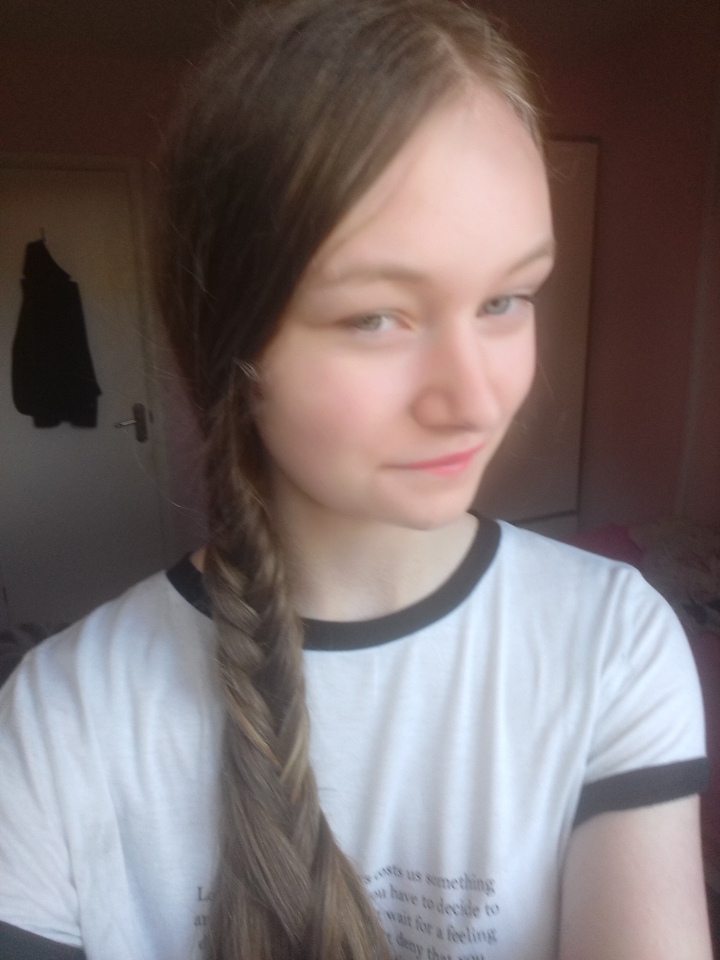
Step 3. Once you’ve done that, split your hair into two even halfs making sure you keep it all on the side that you want the braid on. Then, take the furthest away piece of hair from the outer section and cross it over into the “inner” section. Repeat with the other part. Here is a picture of me doing that this morning incase you are confused.
This one’s even worse I stg I look drunk omg why did I decide to do this.
Step 4. Just keep crossing each strand of hair over into the opposite section. Don’t be disheartened if it doesn’t look much like a braid once you start doing it, you have to get a fair way down the hair until it looks like a recognisenable fishtail braid. For example:
Step 5. Keep going until all the hair is included in the braid and secure with an elastic. The end product should look something like this: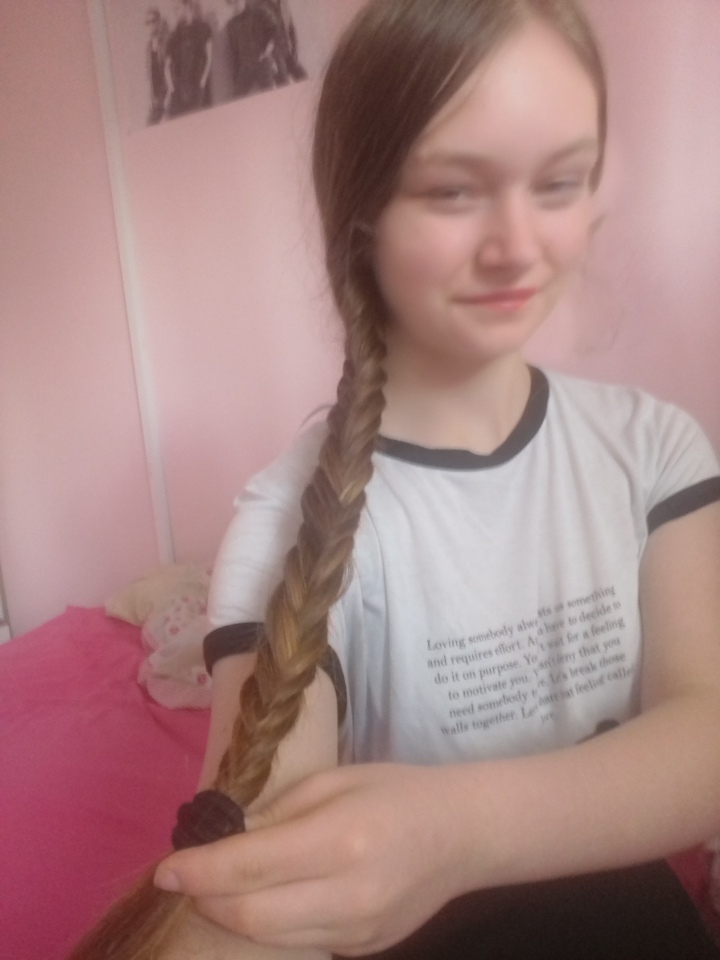
I would recommend this hairstyle the most to people out there with mid-length to longer hair, purely because it is easier to braid and comes out looking a lot slicker. Basically, if your hair’s long enough to do a simple plait in its probably long enough for a fishtail braid. Once you’ve done the braid you can kinda choose where to go from there based on preference. Personally I like the braid quite neat but with a few baby hair’s pulled out on the other side, but if you prefer it slightly messier you can pull each side of the braid out a little to make it looser. I’ve heard of people doing this overnight for heatless curls; this isn’t something I’ve ever tried but if it’s something you want to try yourself, do it and let me in the comments or via email (my email can be found on the contacts page) how it goes.
So there you have it, a fishtail braid. Enjoy.
Lily ❤

